Are you ready to dive into the world of hassle-free file sharing?
In this blog post, we’re taking a closer look at a fantastic tool everyone should know – Pingvin Share! 🐧 Whether you’re a creative pro or just someone tired of clunky attachments, stay tuned to discover how WeTransfer makes sharing files feel like a breeze.
Requirements #
All you need to spin up your own instance of Pingvin Share is:
- Docker
- Docker Compose
How does it work? #
Pingvin Share gives you the chance to share your files or even request uploads from others (reverse shares).
Shares #
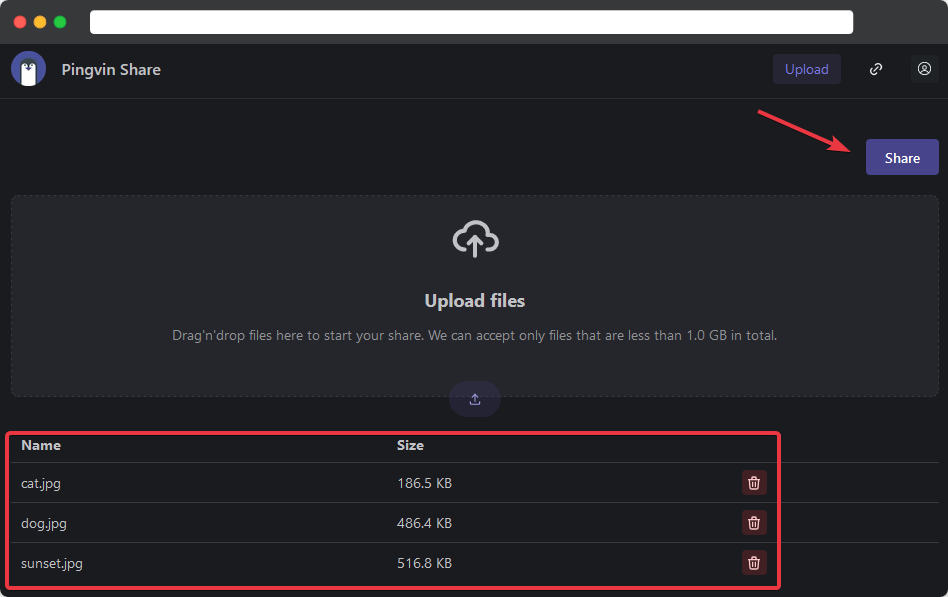
Let’s start with creating our first Share by simply uploading a few images via Drag & Drop, apply with a click on Share.
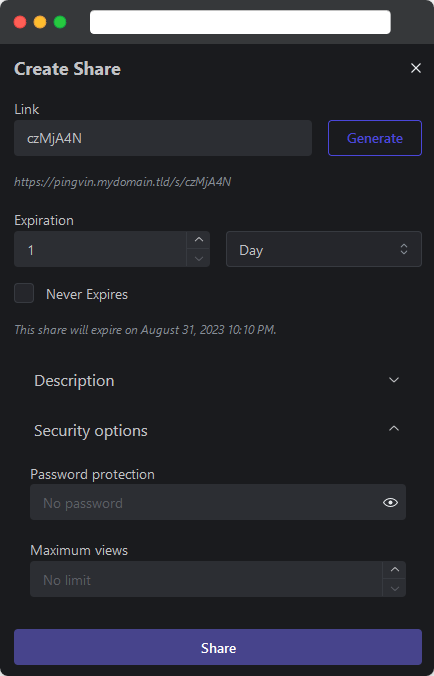
Set options like the URL or different security options for this particular Share and once again, apply with a click on Share.
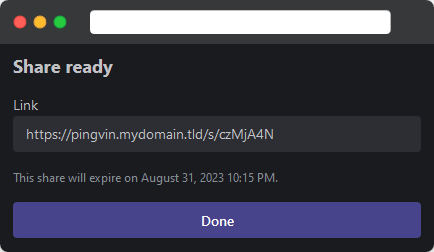
You are now ready to share this link and give others access to your files.
Reverse Shares #
There might be times when you want your Share to work the other way around, requesting files from others.
That’s where Pingvin Share let’s you create so called Reverse Shares.
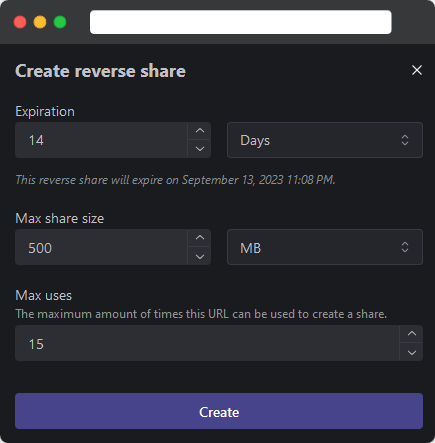
Just click the small link icon in the top right corner and select Reverse share.
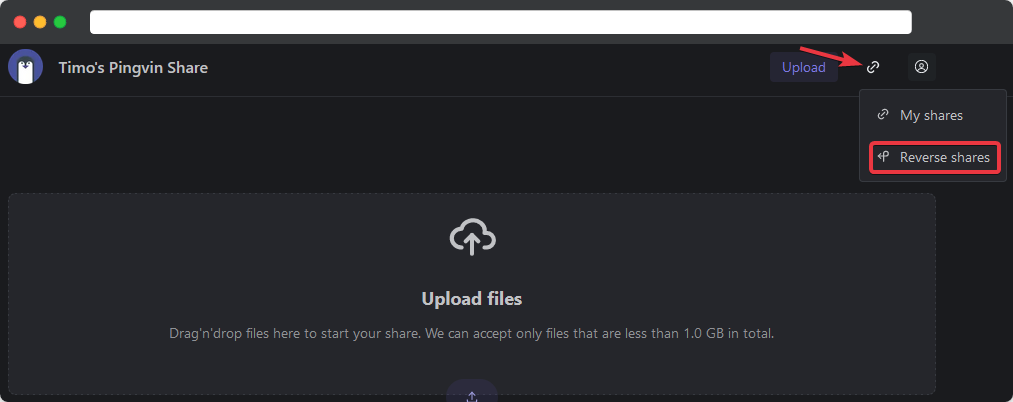
Click on Create and configure your Reverse Share to your liking, apply by clicking Create.
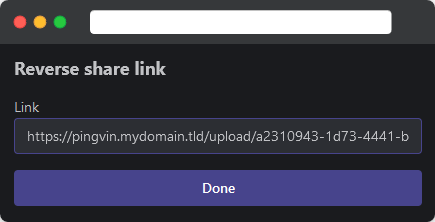
Share this link with friends and family and ask them to upload their files.
Installation #
First you need to create the installation directory of your choice.
mkdir /opt/pingvin-share
Create a docker-compose.yml in the next step.
version: '3.8'
services:
  pingvin-share:
    image: stonith404/pingvin-share
    restart: unless-stopped
    ports:
      - <PORT>:3000
    volumes:
      - "/path/to/pingvin/data:/opt/app/backend/data"
<PORT> and /path/to/pingvin-share/data.
Start the container with docker-compose up -d and check if it is running with docker-compose ps.

In case you’re running into any trouble you can always check the log file with docker logs <container_name>.
Once everything is up and running you can access Pingvin Share by browsing to http://<HOST_IP-ADDRESS>:<PORT> and You’ll be greeted with Pingvin Shares’ landing page.
Check out my article about Nginx Proxy Manager to securely access your instance of Pingvin Share via SSL.
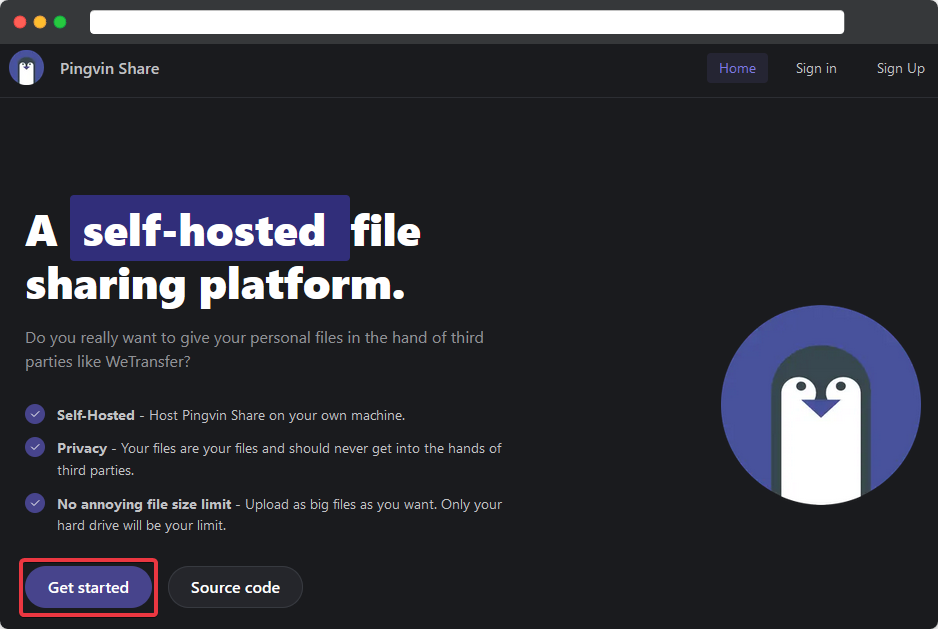
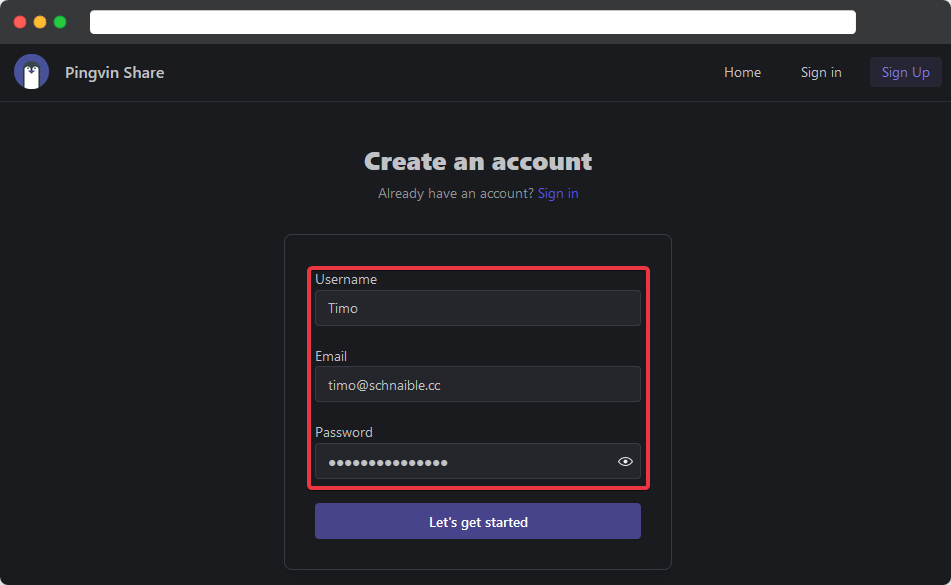
Get started to create your account.
Fill in your Username, Email and Password.
Apply it with a click on Let's get started.
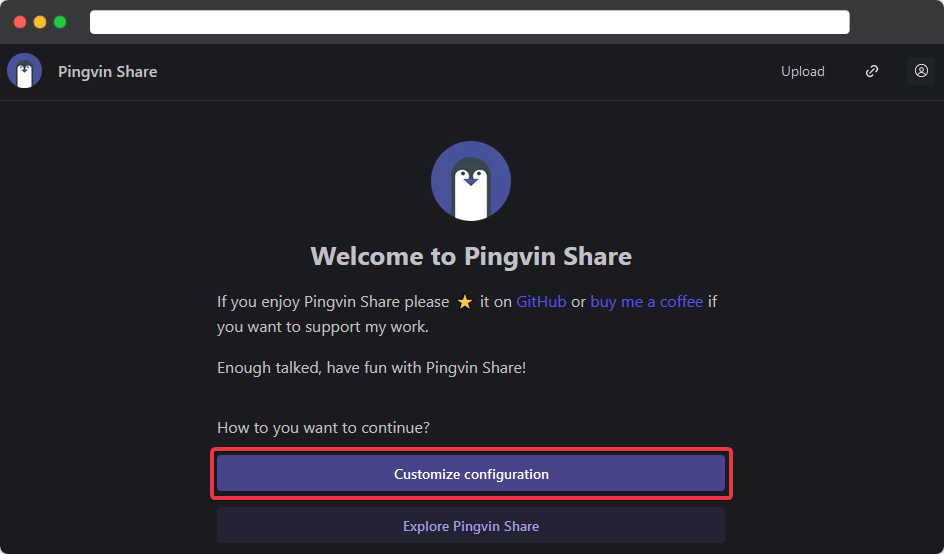
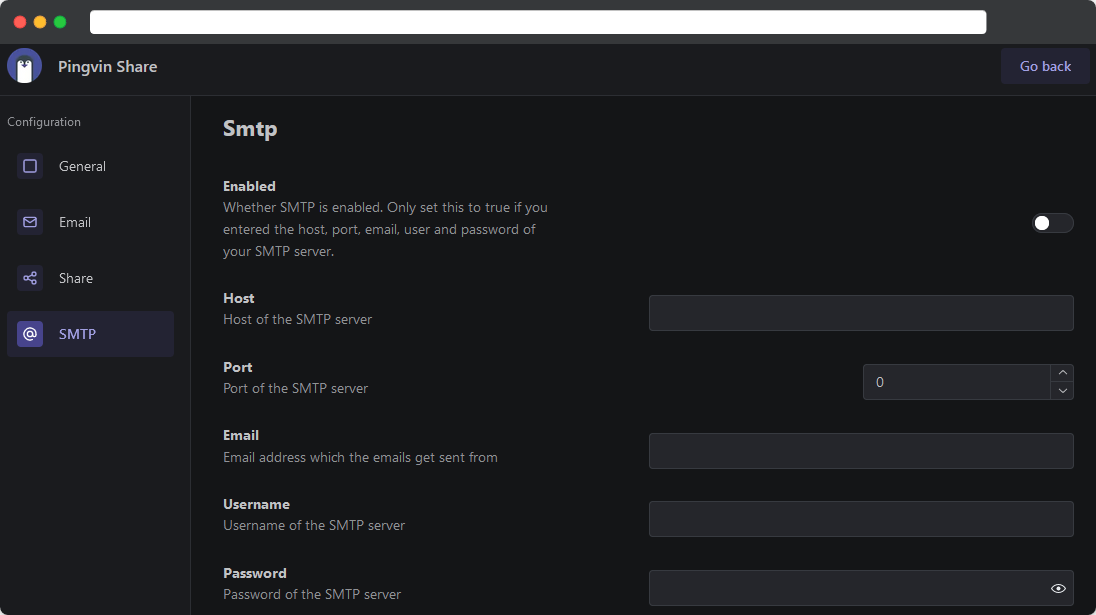
Head over to the settings section by clicking on Customize Configuration.
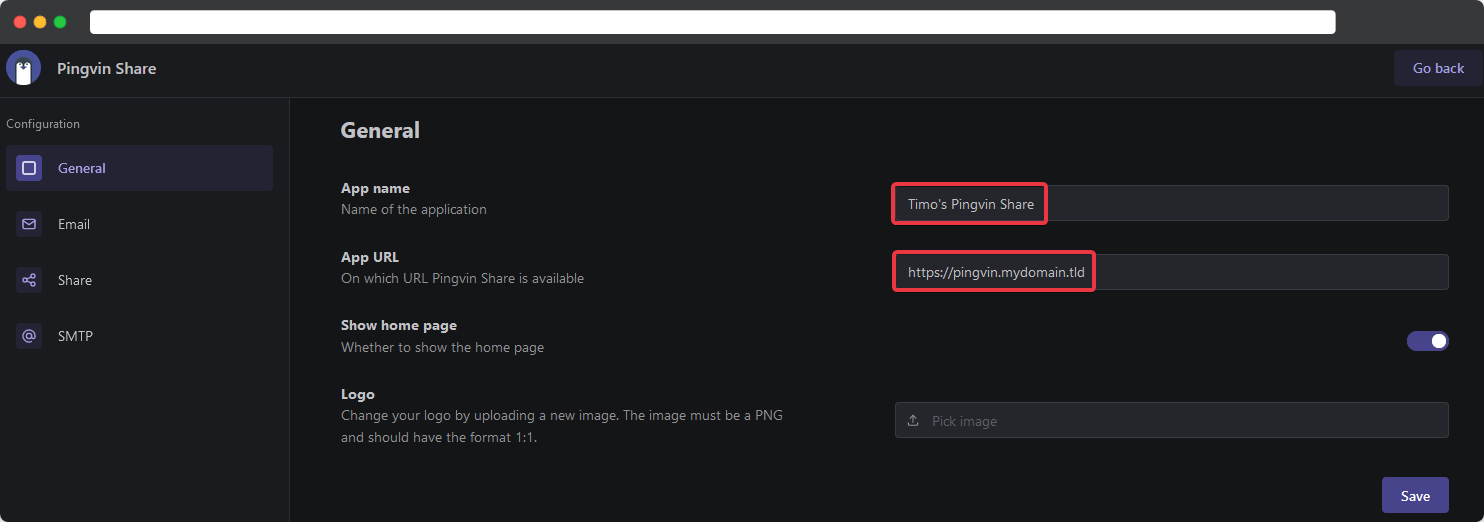
Set up the general configuration…
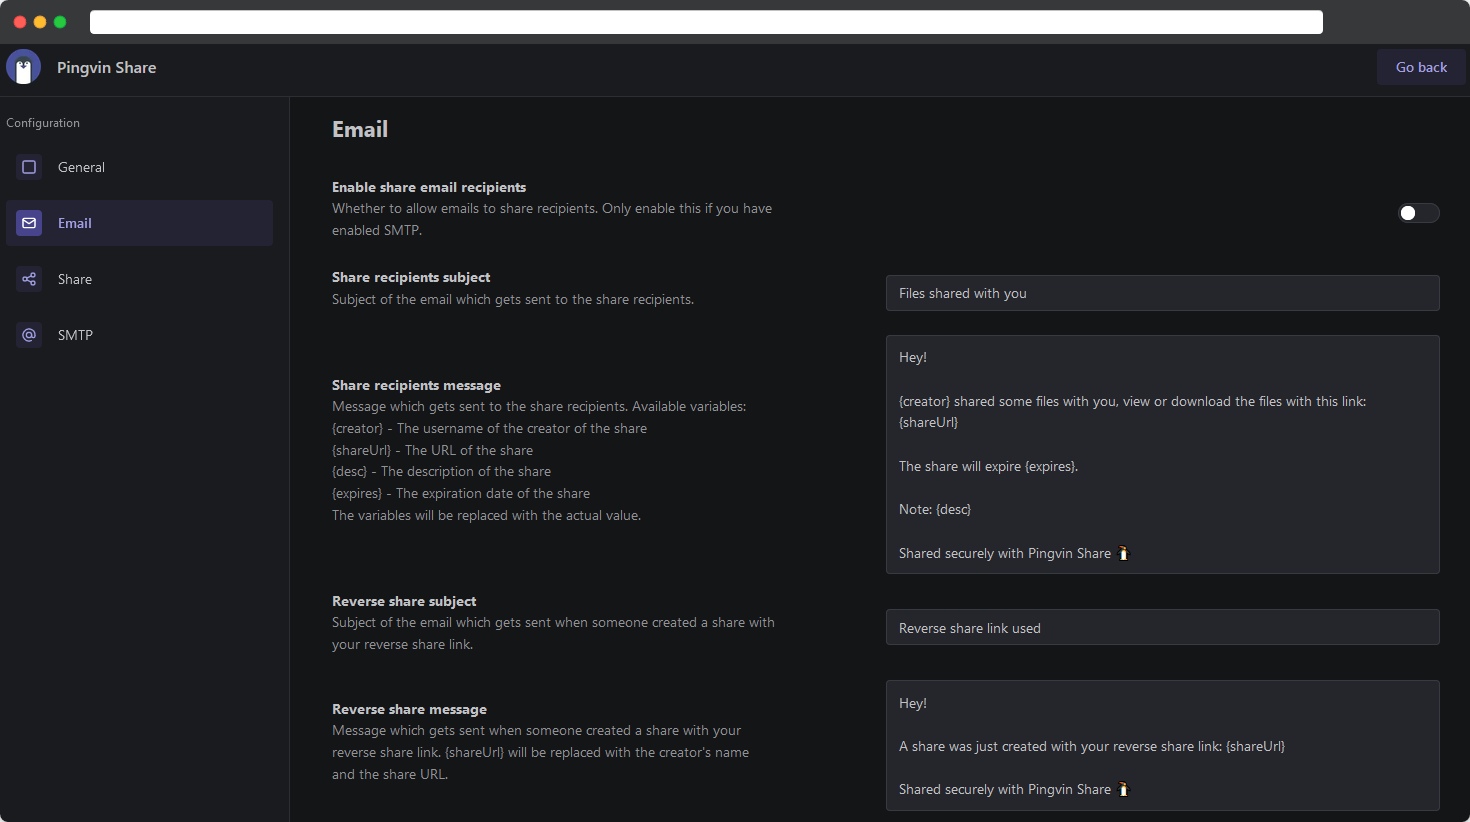
…Email-Templates…
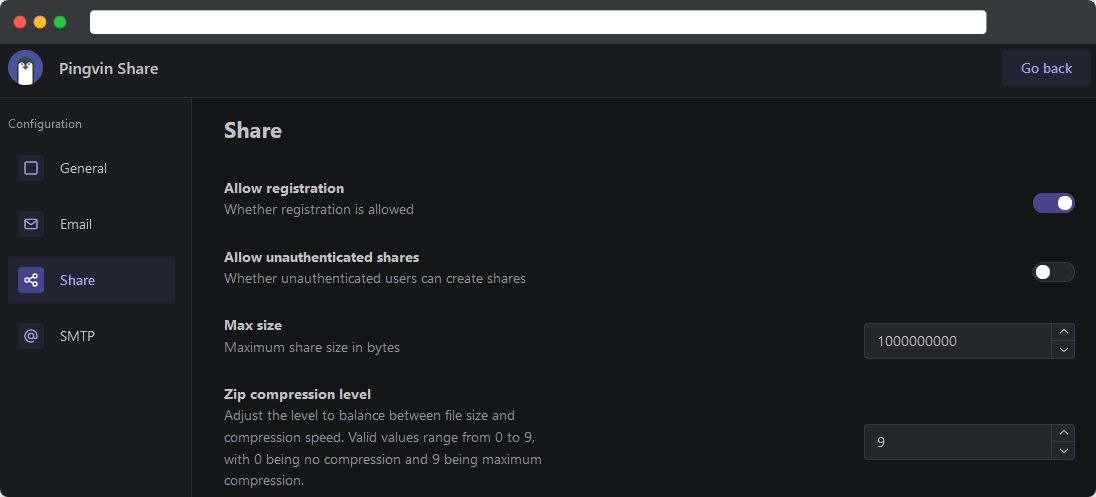
…Share behaviour…
and SMTP relay to your needs.
You’re now all set to create your first shares.
Final Thoughts #
After trying quite a few file sharing applications I found Pingvin Share to be one of the best solutions around.
It’s user friendly, highly polished and developed by a young but very talented developer who cares about his users and their wishes.
Consider leaving a ⭐ at the GitHub Repo, spread the word and help making Pingvin Share even bigger.

